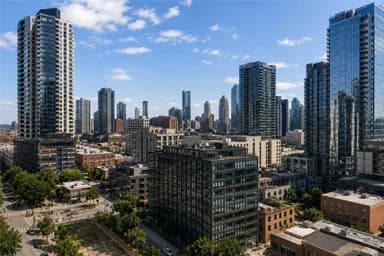
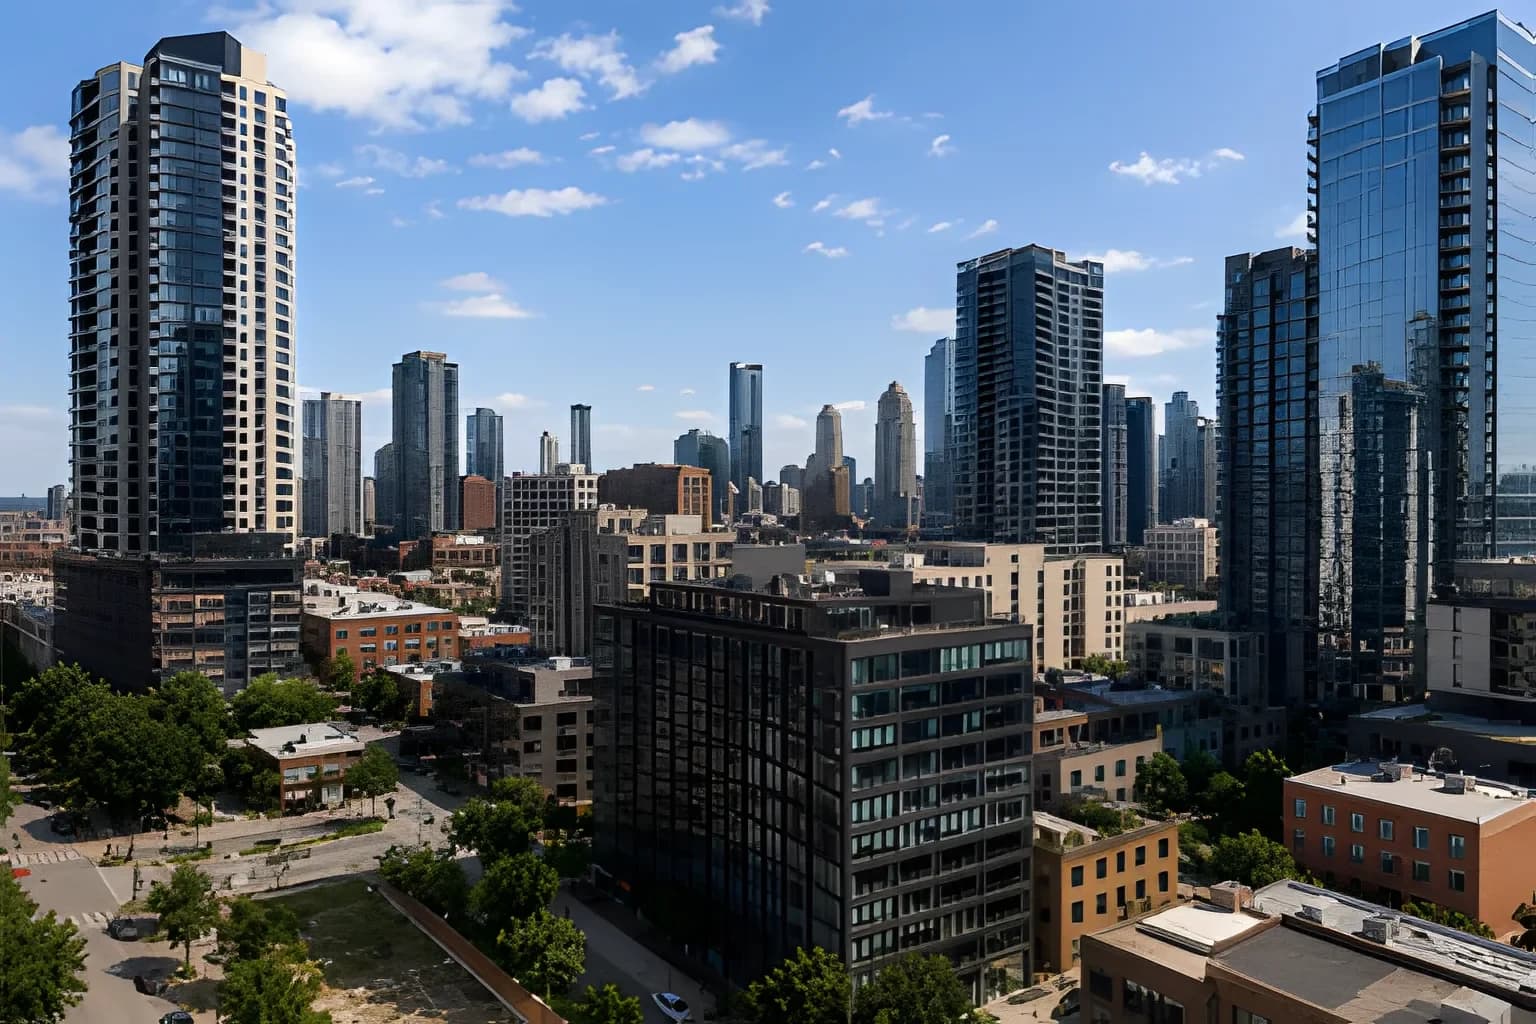
Confirmed PixMender API result: the city source grows from 384 × 256 to 1536 × 1024 pixels, or 4× along each dimension. Toggle the controls to inspect both views.
Direct answer
PixMender enlarges supported images through an asynchronous upscale operation that costs 0.5 credit. Start with the cleanest source, combine denoise or sharpen only when needed, and review generated detail at full size. Upscaling can improve visual clarity, but it cannot recover exact information that the original file never captured.
Verified API example
A larger city view, with the same composition in frame.
The city After is a confirmed PixMender API job result produced from the Before source. The input is 384 × 256 pixels and the result is 1536 × 1024 pixels, confirming a 4× increase along each dimension. This documents a real API run, not a controlled quality benchmark. Results vary with the source image and selected settings.
Good source images
When this workflow works best
01
A small but readable source
Upscaling works best when the original still contains recognizable edges, color boundaries and material texture. It can refine what is suggested by the source, but it cannot recover an exact detail that was never recorded.
02
Product, textile and archive images
Catalog crops, illustrations, scanned photographs and textured subjects benefit when their structure is clear. Faces, tiny typography and technical evidence deserve extra review because generated detail can look convincing while being inaccurate.
03
A known final use
Choose the enlargement for the output you actually need: a marketplace listing, presentation, print draft or larger web crop. Unnecessary dimensions increase download weight without improving the visible result.
Three steps
From upload to reviewed result
01
Start with the cleanest file
Upload the least-compressed JPEG, PNG or WebP you have. If the image is noisy or blurred, consider an ordered denoise or sharpen step before upscaling rather than asking enlargement to amplify every artifact.
02
Run the upscale operation
Upscaling costs 0.5 credit. In the API, it can sit after restoration, denoise or sharpen in one ordered asynchronous job, with the final output settings applied after the image operations complete.
03
Review detail at 100%
Inspect fibers, facial features, lettering, edges and repeated patterns. Compare the enlarged result with the original, then export only the size and format the destination requires.
Know the limits
Review every processed image
AI enlargement predicts plausible high-frequency detail. It does not reveal a hidden license plate, restore exact tiny text or guarantee that a reconstructed face matches reality.
Compression blocks, ringing, oversharpening and color noise can become more visible at larger dimensions. Clean or restore the source first when those defects are important.
A larger pixel count is not automatically a better file. Check the target display size, file weight and downstream compression before choosing the final output.
Only upload images you are allowed to process. Generated detail can be inaccurate, so keep the original and review the result before publication or high-stakes use.
Browser or API
Use the same ordered workflow in automation.
Request a signed upload URL, create an asynchronous job, poll its status or receive a signed webhook, then download the result before temporary files are removed.
 PixMenderStart free